The photos on this page document the building of the greenhouse. Page 3 will show the construction of the addition to our home.
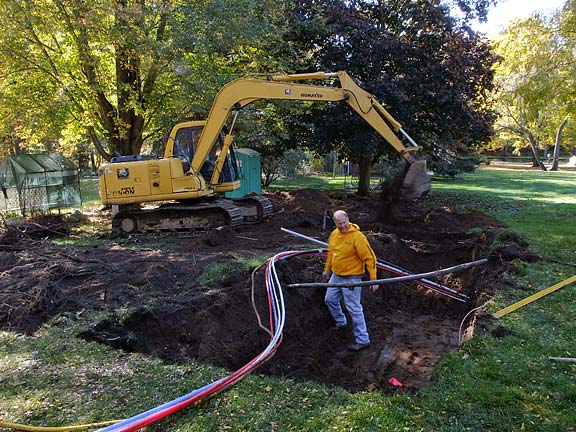
1. Pulling water, gas & electric pipes underground from the house to the greenhouse.
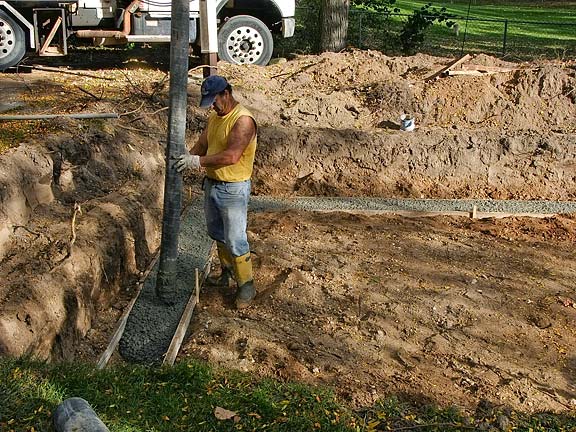
2. Pouring the footings.
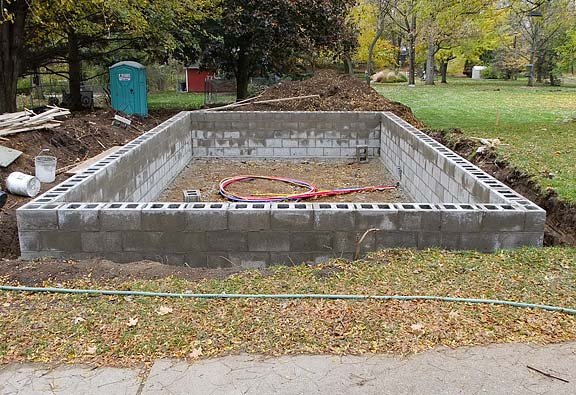
3. Foundation blocks are laid. You can see where the pipes are all entering the greenhouse.
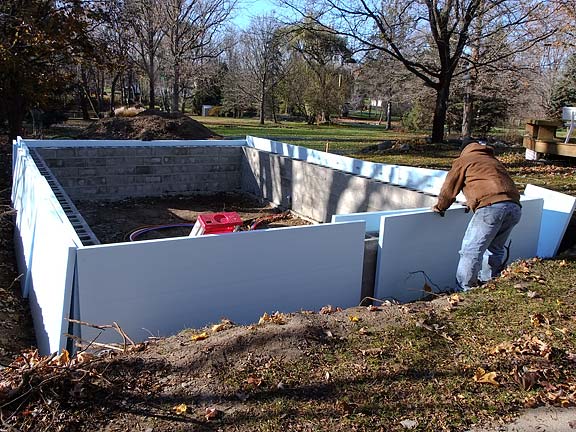
4. A double layer of insulation board is installed around the perimeter of the foundation.
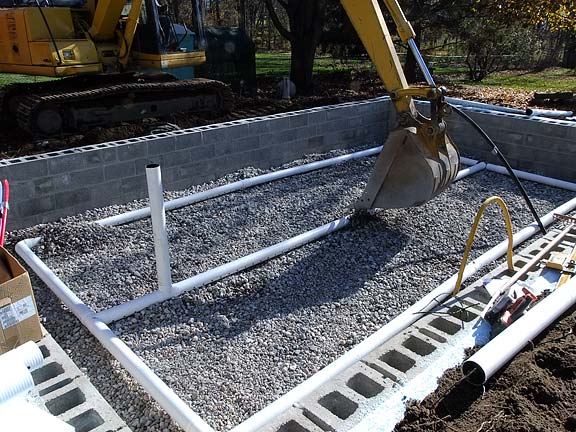
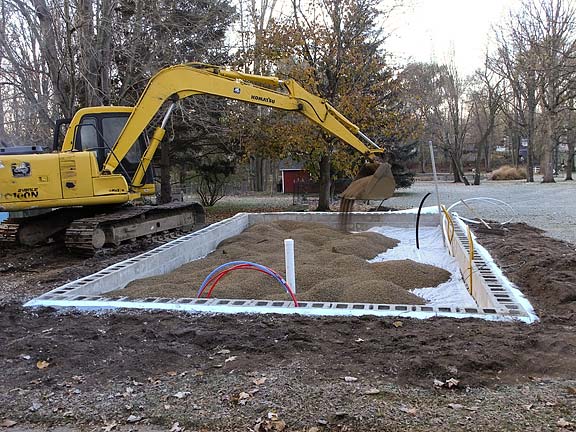
5. A "drainfield" is constructed for the sink, and coarse stone is placed over it.
6. Dirt fills the outside of the foundation, and pea stone is laid over a layer of landscape fabric.
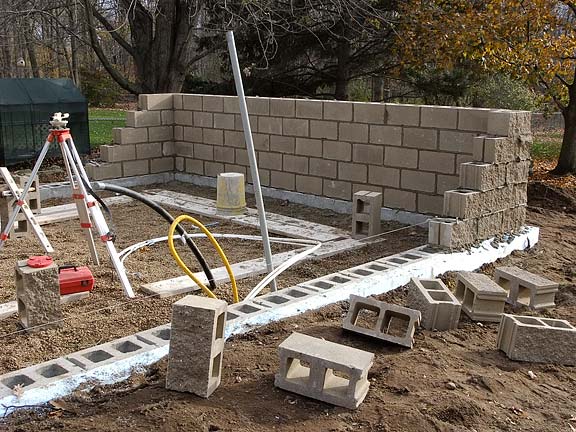
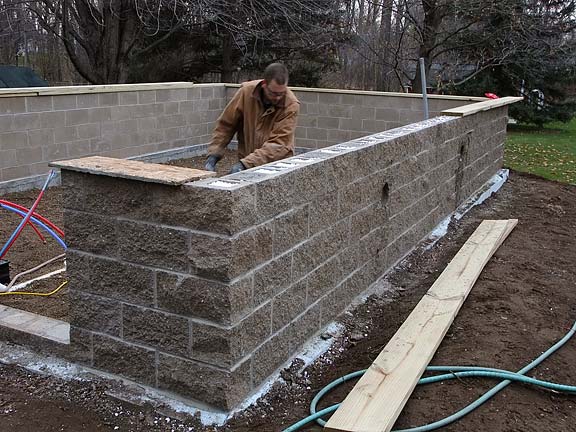
7. The knee wall is being built using split-face cement blocks. Insulation to be poured into the blocks.
8. Holes are drilled into the blocks to accommodate the vents for the two heaters.
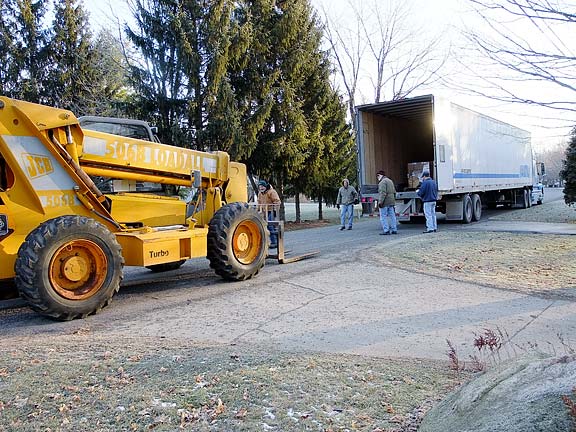
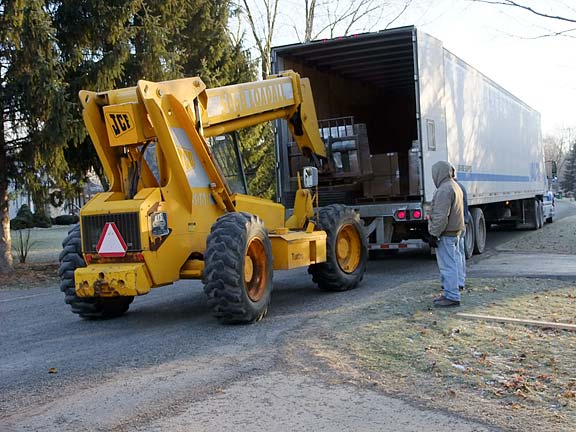
9. It's here, and about to be unloaded!
10. It took a little over an hour to unload 8 pallets plus 32 boxes.
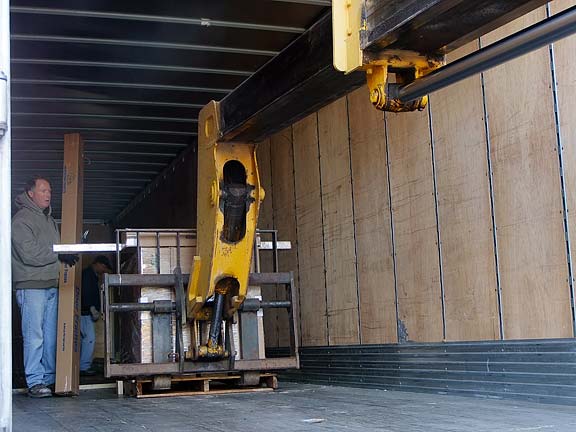
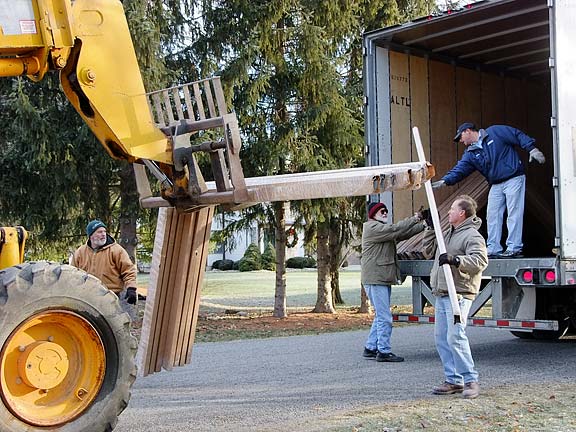
11. Last pallet and a very deep truck!
12. Trusses were the last to come out.
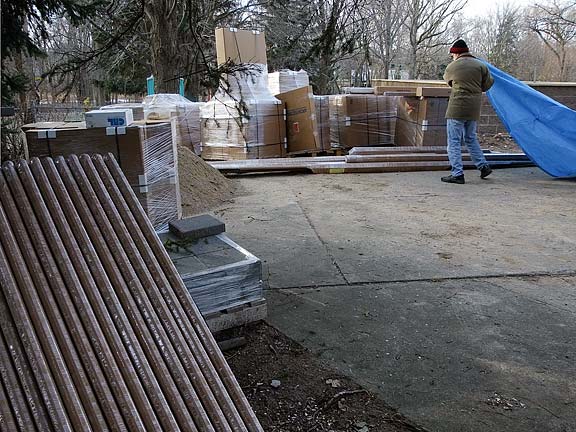
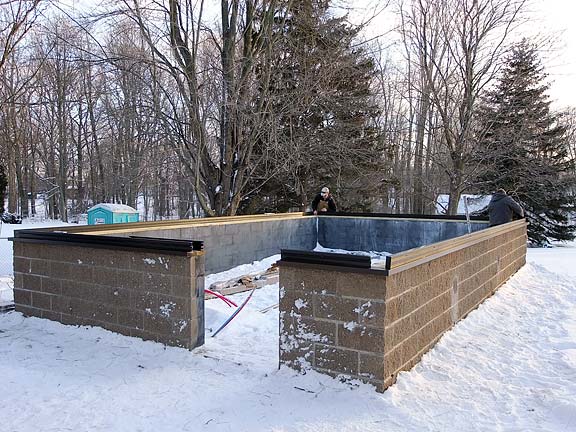
13. All the parts are stored beside the foundation, covered for bad weather & awaiting assembly.
14. The crew arrived two days late because of all the snow betweetn here and Cincinnati.
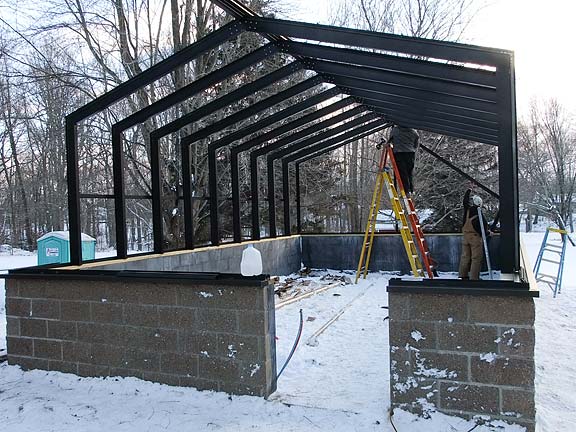
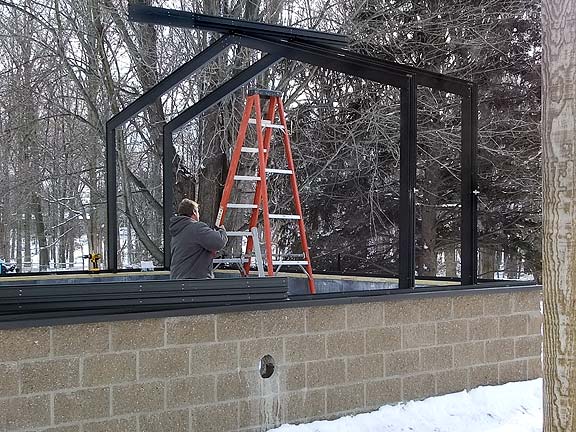
15. Beginning the framing the morning after they arrived.
16. By the end of their first full day here, most of the framing was done.
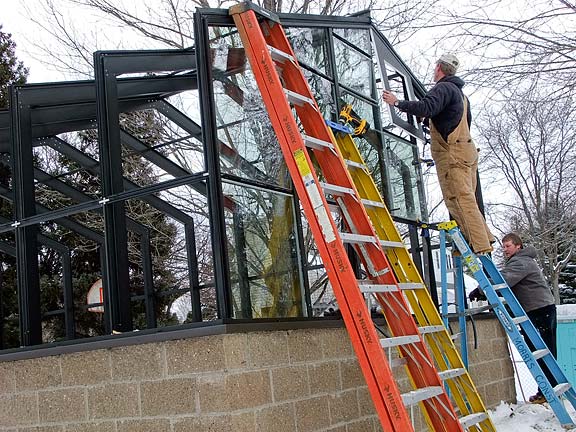
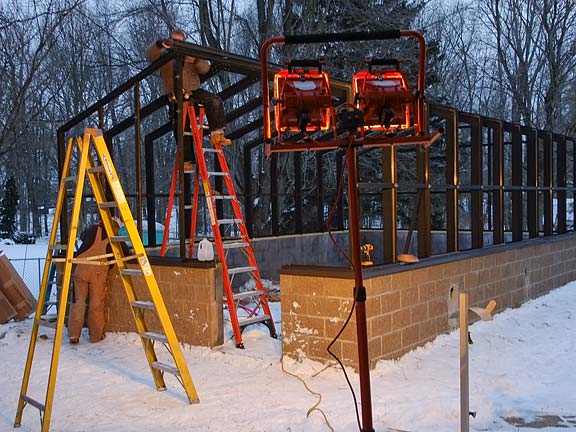
17. They even worked after it was dark, anticipated by bringing their own lighting.
18. Beginning the glazing. These guys are the fourth generation glaziers in their family.
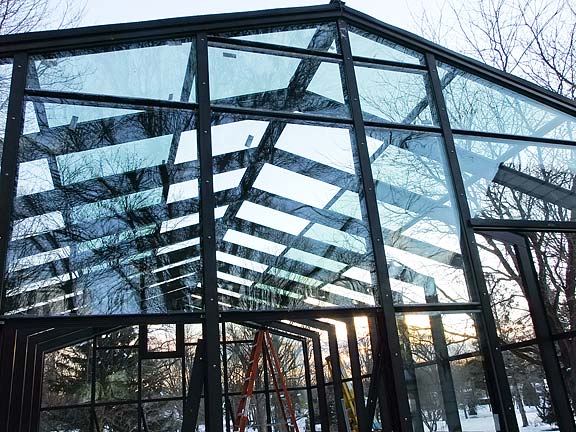
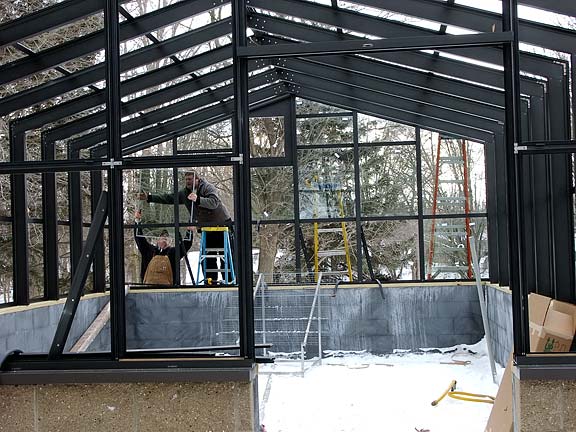
19. They are brothers, and are quite a team!
20. By the end of the second full day, most of the glass was installed.
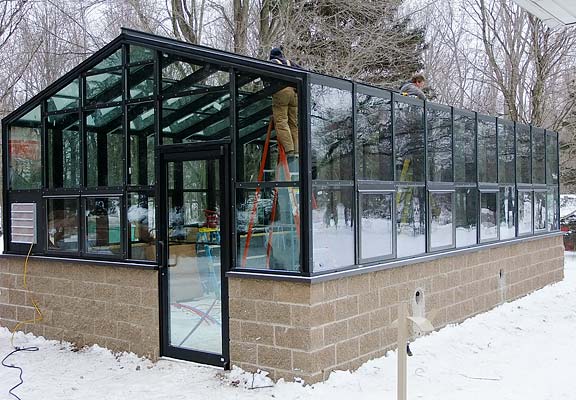
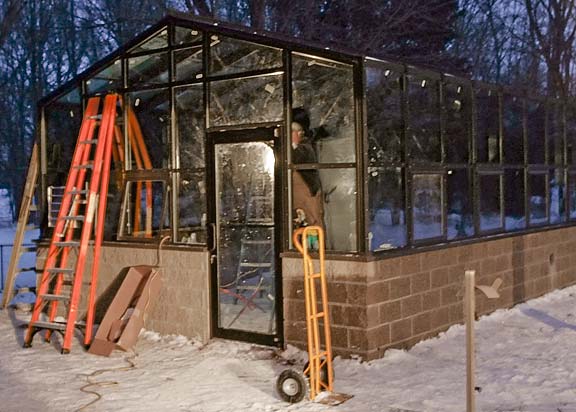
21. The door went on in the evening. Installed also was a vent fan and a louvered vent.
22. The third full day saw them completing the side windows and are ready to work on the roof.
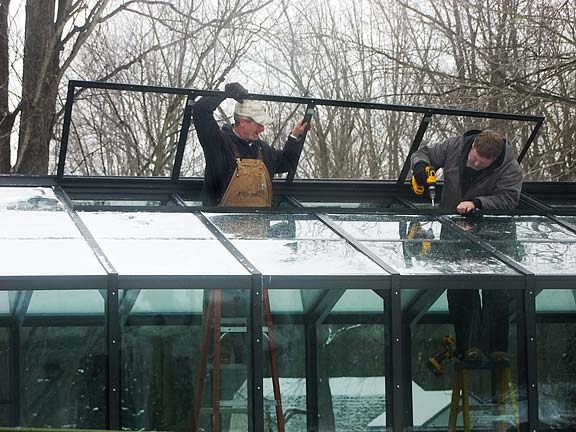
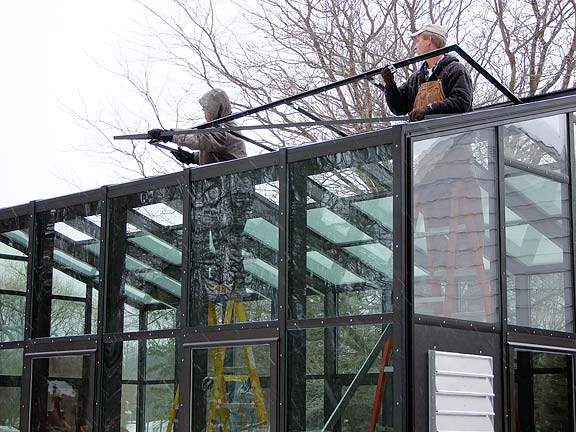
23. The last day was spent installing the ridge vent, glass, screens and motor.
24. It was a complex process that took longer because of the cold and snow.
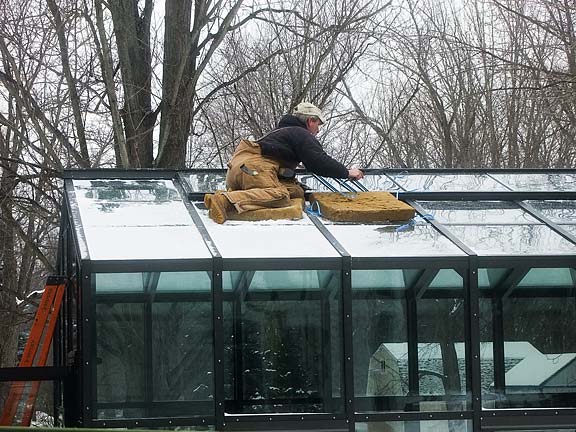
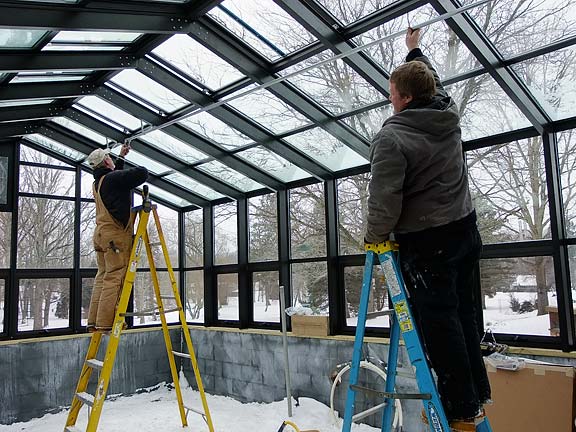
25. With all the glass in, the final things to do were seal the ridge vents glass,
26. attach the piping for the thermostatically controlled ridge vents,
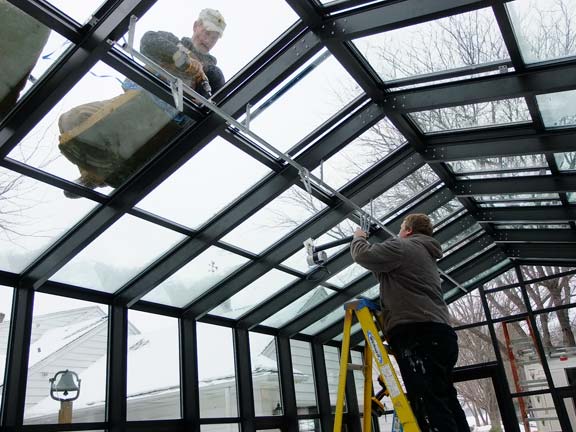
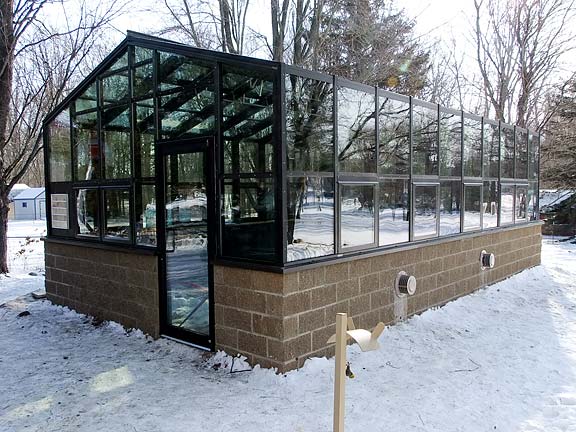
27. attach the motor and then caulk around all the windows and door.
28. Finished! At least the exterior. The interior photos will have to wait until next year.